Golden Pavlova with Seasonal Berries
Back to Recipes & MoreInstructions
Step 1
Preheat oven to 325°F (163°C).
Step 2
With a pencil or marker, draw an 8- or 9-inch circle in the centre of a sheet of parchment paper. Line a baking sheet with that parchment paper, flipping the paper over so that the marking is on the underside.
Step 1
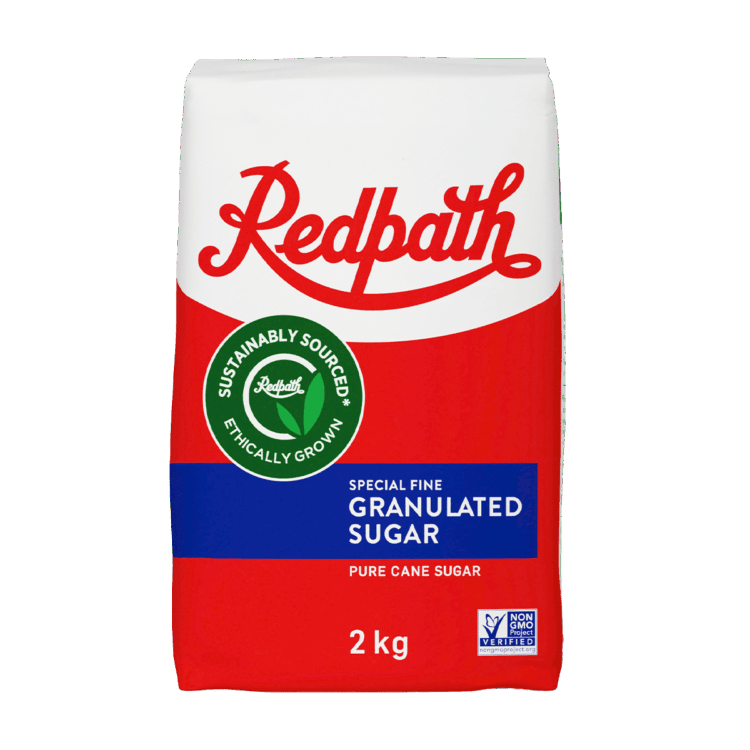
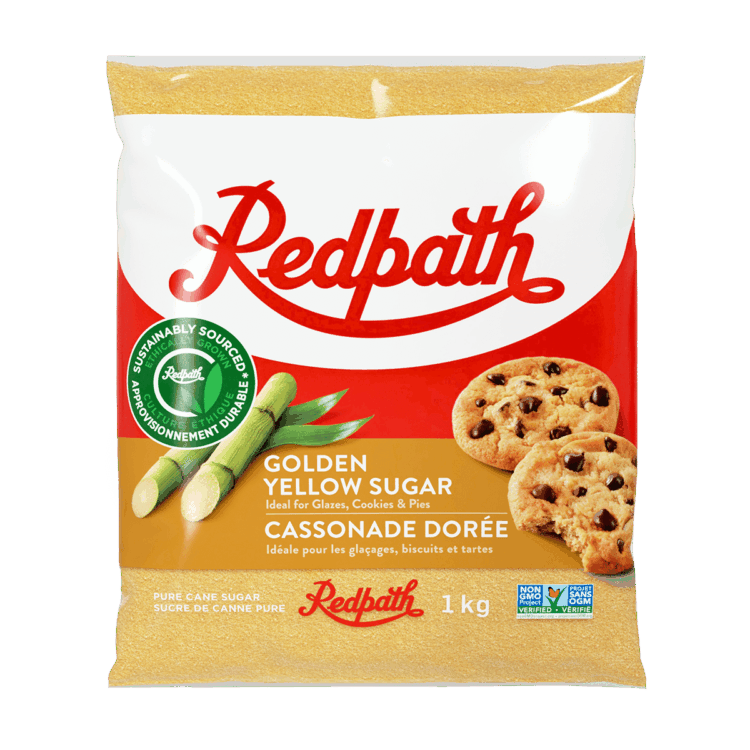
In the bowl of a food processor, combine the Redpath® Golden Yellow Sugar, the Redpath® Special Fine Granulated Sugar, and cornstarch. Process until the granules of both sugars are fine, and the cornstarch is thoroughly mixed into the sugars; the finer the sugar granules, the more readily the granules dissolve into the egg whites. Set aside. Note: let the sugars and cornstarch settle before opening the lid.
Step 2
Add the egg whites to the bowl of a stand mixer fitted with the whisk attachment (see Chef’s Tips). Whisk at medium-low speed until soft peaks form (see Chef’s Tips). When they are at that stage and the mixer is still on, drizzle in the vinegar. Slowly increase the speed to medium and whip for a few seconds until the vinegar is incorporated.
Step 3
While the mixer is on, slowly add about a tablespoon of the brown sugar mixture to the egg whites. Wait at least 30 seconds to allow the sugar to incorporate before sprinkling in another tablespoon (see Chef’s Tips). Scrape down the sides and edges of the bowl with a clean rubber spatula to ensure all the meringue and granules of sugar are incorporated. Repeat the process until all the sugar is added.
Step 4
Gradually increase the speed to medium-high after all the sugar has been incorporated. Whip until egg whites are smooth, thick, glossy, and stiff peaks form; about 5 minutes. Ensure all sugar is dissolved by rubbing a small amount of meringue between your fingers (see Chef’s Tips). If still granular, reduce to medium speed and continue to whip until no longer gritty; watch closely as meringue can over-whip in seconds.
Step 5
Place a small dab of meringue at each corner of the parchment paper to secure the paper to the baking sheet.
Step 6
Working quickly, gently mound about a third of the brown sugar meringue into the centre of the circle drawn on the parchment paper. Gently spread to the shape and size of the circle using a large offset spatula. Add another third of the meringue, being careful not to deflate the volume. Transfer the remaining meringue on top of the rest of the meringue. Quickly smooth out the meringue. Aim for a slightly domed shape no higher than 2 or 3 inches or risk cracking.
Step 7
Using the tip of a small offset spatula, make vertical or gently sloping ridges up the sides of the dome towards the middle of the mound. Sweep the tip of the spatula from the base of the pavlova to the top of the dome, creating long divots that are about ½-inch deep. Ridges will become less defined as the pavlova bakes, as it tends to puff and smooth out slightly. Repeat process until the entire pavlova is ridged.
Step 8
Clean off the small offset spatula and create a wide, shallow dent in the middle of the dome by gently pushing down and turning the baking sheet.
Step 9
Place the baking sheet into the preheated oven, being careful not to slam the oven door shut. Immediately reduce heat to 225°F (107°C) and bake for an hour and a half; do not open the oven door during the baking process. Turn off the oven and allow the pavlova to cool completely in the oven with the door shut; 6 hours to overnight (preferably). To ensure that the pavlova slowly cools down, turn on the oven light once you turn off the oven. The light emits a small amount of heat and prevents a sudden drop in temperature. Keep the light on for 30 minutes after the oven has been turned off; it can be turned off for the remaining 5+ hours.
Step 10
Once completely cooled, serve immediately or place into an airtight container lined with parchment paper for up to 2 days; do not place into the fridge or freezer.
Step 1
Gently peel the parchment paper from the bottom of the completely cooled pavlova; it should come off easily. Carefully place the pavlova onto a serving plate.
Step 1
In a medium bowl, combine the sliced strawberries, raspberries, and blueberries with the Redpath® Golden Yellow Sugar. Mix to evenly coat the berries with the sugar and set aside to macerate.
Step 2
In the bowl of a stand mixer fitted with the whisk attachment (see Chef’s Tips), whip the whipping cream on medium speed until slightly thickened.
Step 3
Sprinkle in the Redpath® Icing Sugar and vanilla extract, if using. Continue whipping on medium to medium-high speed until cream is thick and smooth and just begins to hold its shape when mounded; do not beat until stiff peaks form.
Step 4
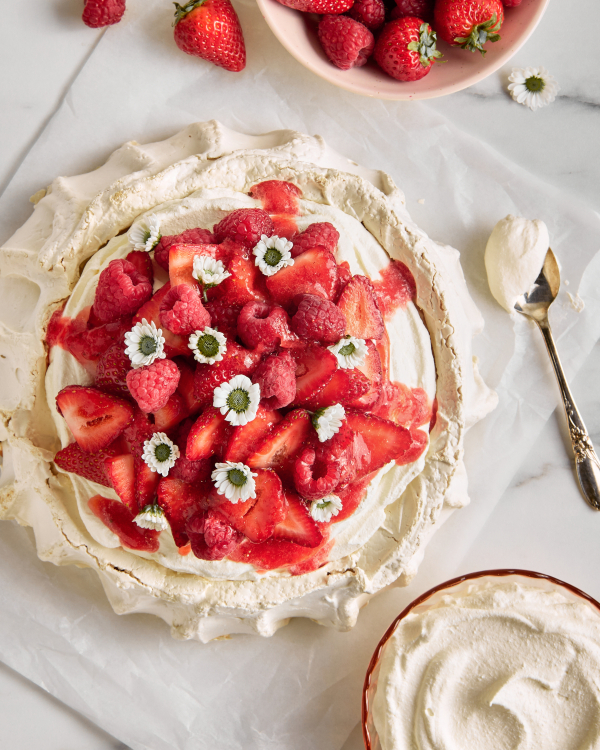
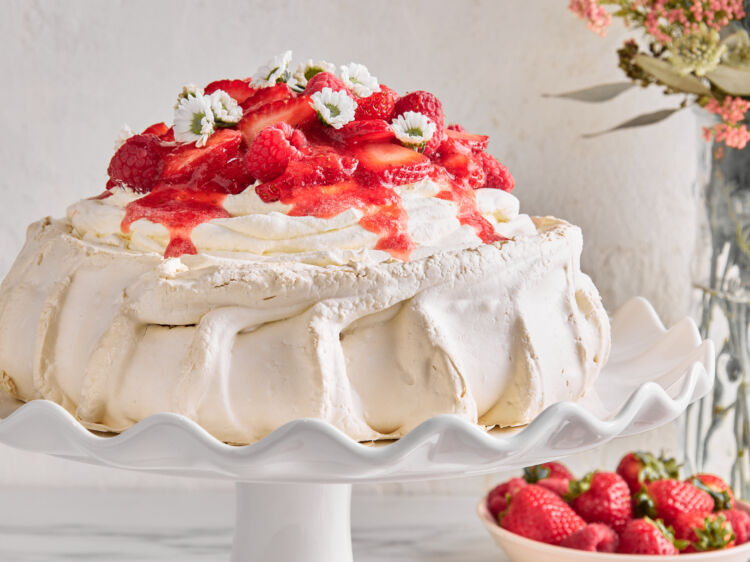
Just before serving, gently spread the cream on top of the pavlova. Carefully top the cream with the mixed berries. If desired, garnish with a dusting of icing sugar, a sprinkling of lemon zest, edible flowers, and/or thyme or basil leaves.
Step 5
Use a sharp chef’s knife to cut wedges. Serve immediately.
