Strawberry Speckled Egg Cake
Back to Recipes & MoreInstructions
For the strawberry cake:
1. Preheat oven to 350℉ (180℃). Grease and line two 8 inch x 1.5 inch (20 x 3.6 centimetres) round cake pans with parchment paper. Set aside.
2. In a large bowl whisk together flour, baking powder, baking soda, and salt until thoroughly combined.
3. In a measuring cup, whisk together yogurt, eggs, and vanilla extract. Set aside.
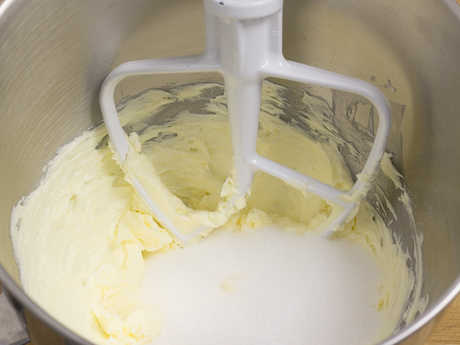
4. In the bowl of a stand mixer with the paddle attachment, cream the butter until smooth. Add the Redpath® Granulated Sugar and blend for 3 minutes, or until mixture is very pale in colour and fluffy.
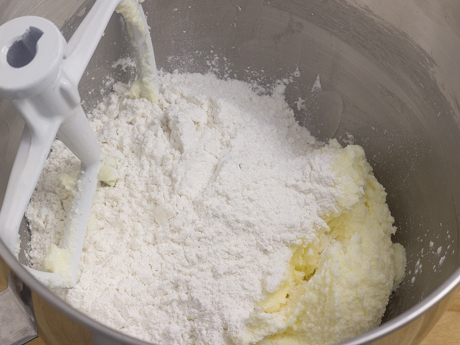
5. Add half of the flour mixture and blend until it starts to combine, then add the remainder of the dry ingredients and blend until the mixture looks like coarse breadcrumbs. Pour in the milk. Blend on low, while increasing the speed to medium and mixing until it comes together; about 1 minute.
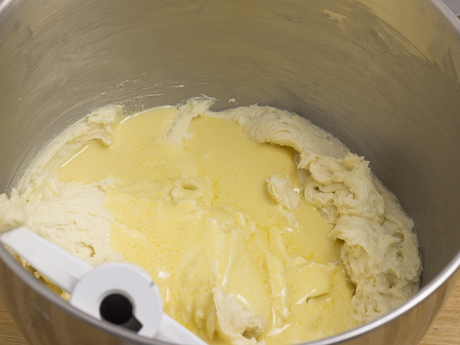
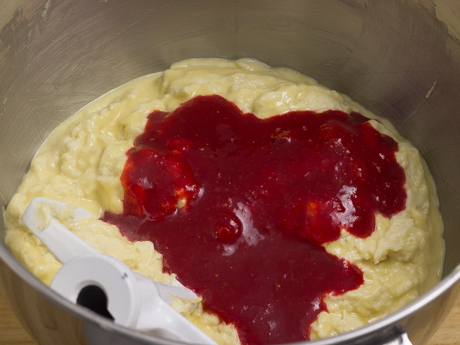
6. Add half of the egg mixture, mixing until fully incorporated before adding the rest of the egg mixture. Before the egg mixture is fully mixed, add the strawberry puree. Mix until batter is thoroughly combined; do not overmix.
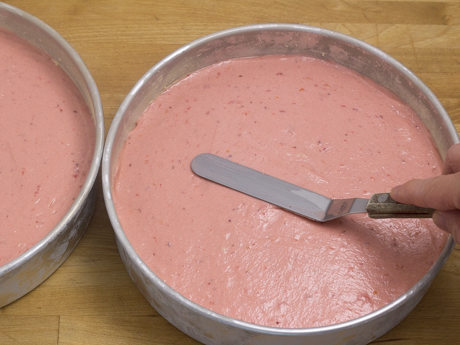
7. Divide the batter evenly between the two prepared cake pans. Place cakes into the preheated oven for 30 minutes or until a skewer comes out clean when inserted in the centre of each cake.
8. Allow cakes to cool in the pans for 5 minutes before unmolding. Place cakes on a wire rack to cool completely before handling.
For the strawberry puree:
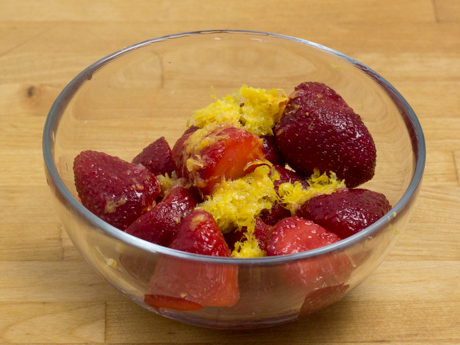
1. In a food processor, or using a hand-held blender, puree strawberries with lemon zest and lemon juice until smooth. Stir in a few drops of red gel food colouring. Set aside.
For the lemony cream cheese buttercream icing:
1. In the bowl of a stand mixer with the paddle attachment, cream together room temperature cream cheese, butter, and salt until creamy and smooth; about 2 minutes.
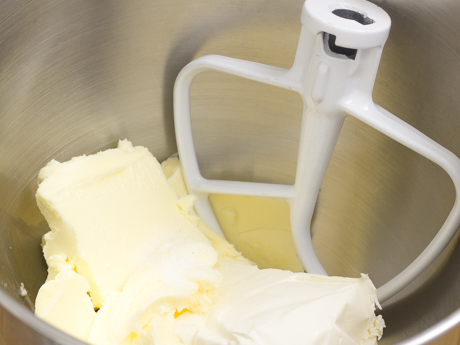
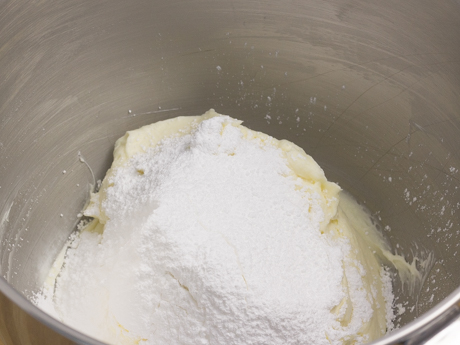
2. Sift the Redpath® Icing Sugar into a medium-sized bowl. Add sifted sugar, about 1 cup at a time, starting on low then increasing the speed to high, until fully incorporated. Keep adding sugar until desired consistency is achieved.
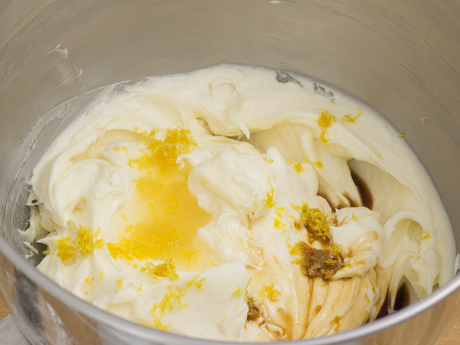
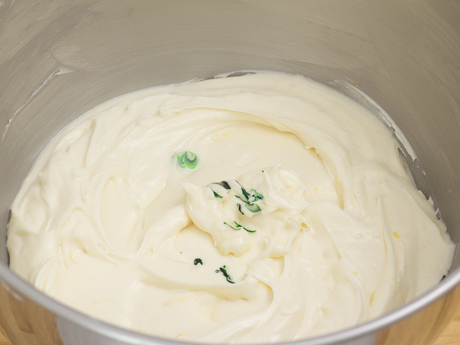
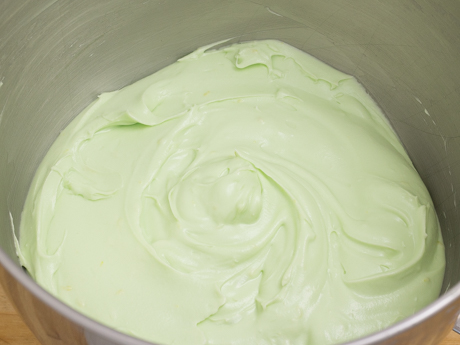
3. Add lemon juice, lemon zest, and vanilla extract, and blend until creamy and fluffy. Add food colouring, and, if needed, the heavy cream. Cream the mixture until the food colouring is evenly distributed throughout the buttercream.
For the speckling paint:
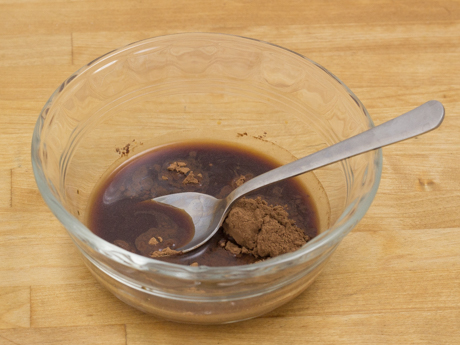
1. In a small bowl, stir together vanilla and cocoa powder until cocoa powder is completely dissolved. Have a clean pastry brush ready.
For the assembly:
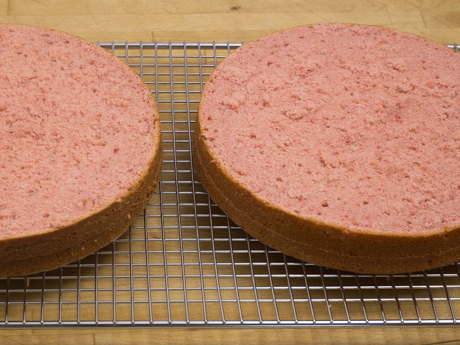
1. With a sharp serrated knife, carefully slice off the rounded tops of the completely cooled cakes. If available, place cake onto a cake turntable. With the knife held parallel to the work surface, carefully and evenly divide the cake in half while turning the cake on the turntable. Repeat process with the second cake.
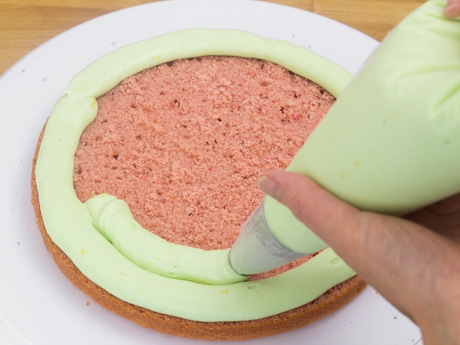
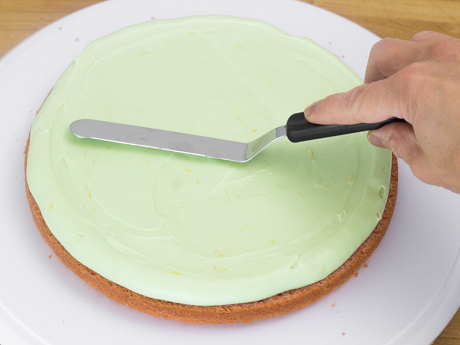
2. Place one of the bottom layers onto the cake stand or platter. Transfer some of the cream cheese buttercream into a piping bag fitted with a round tip. Pipe concentric circles onto the layer, and with a small offset spatula smooth out the buttercream.
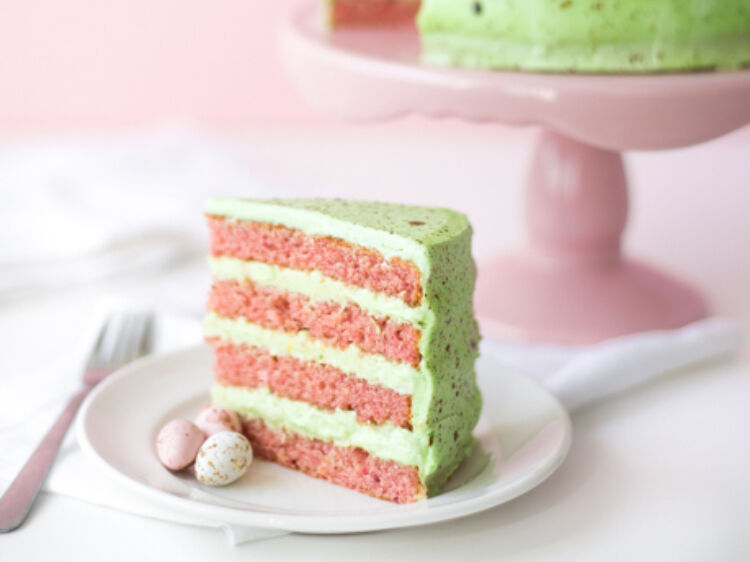
3. Place the matching top of the cake layer onto the buttercream, gently pressing down to adhere the layer onto the frosting. Repeat the process with the other cake layers; however, instead of placing the bottom of the second cake onto the second layer of buttercream, place the leveled top of the second layer onto the buttercream, keeping the flat bottom piece for the top of the cake.
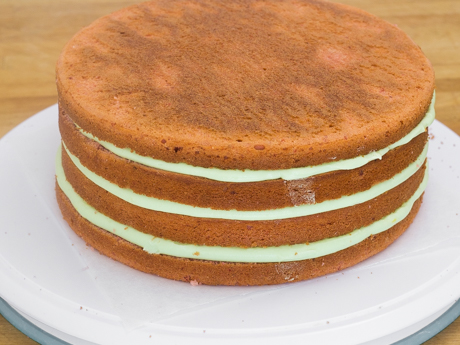
4. With the entire cake assembled, spread a thin coat of buttercream over the top and the sides to seal in the crumbs; this is called a crumb coat. Place into the fridge to set the crumb coat; about 15 minutes or until buttercream is firm to the touch.
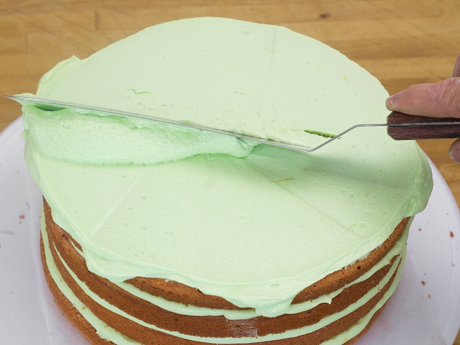
5. Add the final layer of cream cheese frosting over the crumb coat, making sure not to scrape against it while smoothing out the frosting over the top and sides.
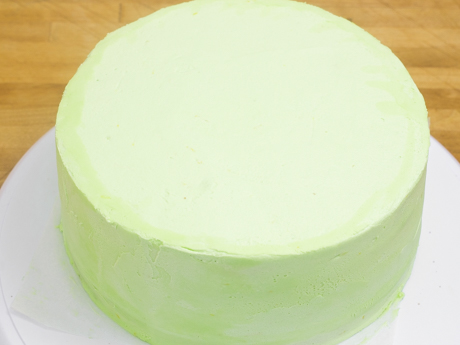
6. Once the top and sides have been frosted, place into the fridge to chill and set; about 15 minutes.
7. Place a small pile of candy coated chocolate eggs onto the centre of the cake.
8. With a clean pastry brush, dip into the speckling paint and remove excess “paint ” by pressing the bristles against the rim of the bowl. Holding the brush with the bristles parallel to the surface of the buttercream, run a finger across the bottom of the bristles. Practice a few times on a plate or piece of parchment paper, before trying it out on the cake.
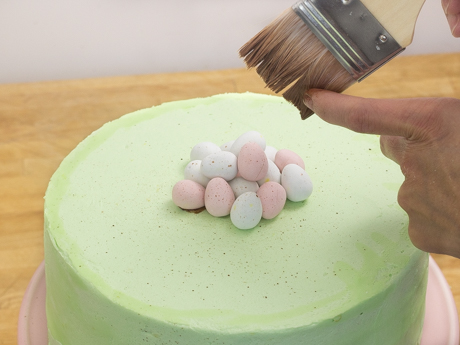
9. Once cake is covered in a desired amount of speckles, it is ready to be served. If placing cake back into the fridge, make sure it comes to room temperature before cutting and serving. Garnish cake with additional candy-coated chocolate eggs or fresh strawberries.
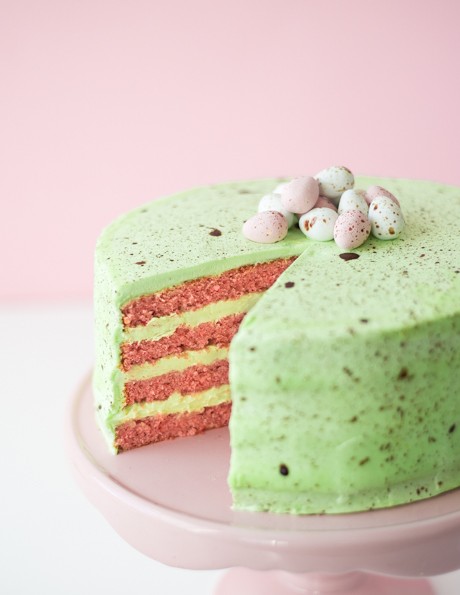
*To enhance the strawberry flavour of the cake, slice some fresh strawberries and arrange them on the buttercream between each cake layer.
*Cakes can be made a few days in advance. When cakes are completely cooled, double wrap them in plastic wrap, then wrap in aluminum foil, and place into freezer. Make sure to thaw overnight in the fridge the day before assembling.
